Title: Mastering the Art of Tinning: Enhancing Your Soldering Iron Skills
Introduction:
In the world of electronics and DIY projects, soldering is a fundamental skill that every enthusiast, hobbyist, and professional should master. Tinning a soldering iron is one of the essential techniques to ensure efficient heat transfer and proper soldering joints. In this blog, we'll delve into the art of tinning, exploring its importance, step-by-step process, and tips for achieving optimal results.
Understanding the Importance of Tinning:
Tinning a soldering iron involves coating the tip with a thin layer of solder, which serves several critical purposes:
1. Improves Heat Transfer: Tinning creates a smooth and uniform surface on the soldering iron tip, enhancing heat transfer to the solder and the components being joined.
2. Prevents Oxidation: The solder coating protects the iron tip from oxidation, which can degrade its performance and lead to poor soldering results.
3. Facilitates Solder Flow: A properly tinned tip promotes the flow of solder, ensuring clean and reliable solder joints.
4. Prolongs Tip Life: Regular tinning helps maintain the integrity of the soldering iron tip, extending its lifespan and reducing the need for frequent replacement.
Step-by-Step Guide to Tinning:
Follow these steps to tin your soldering iron effectively:
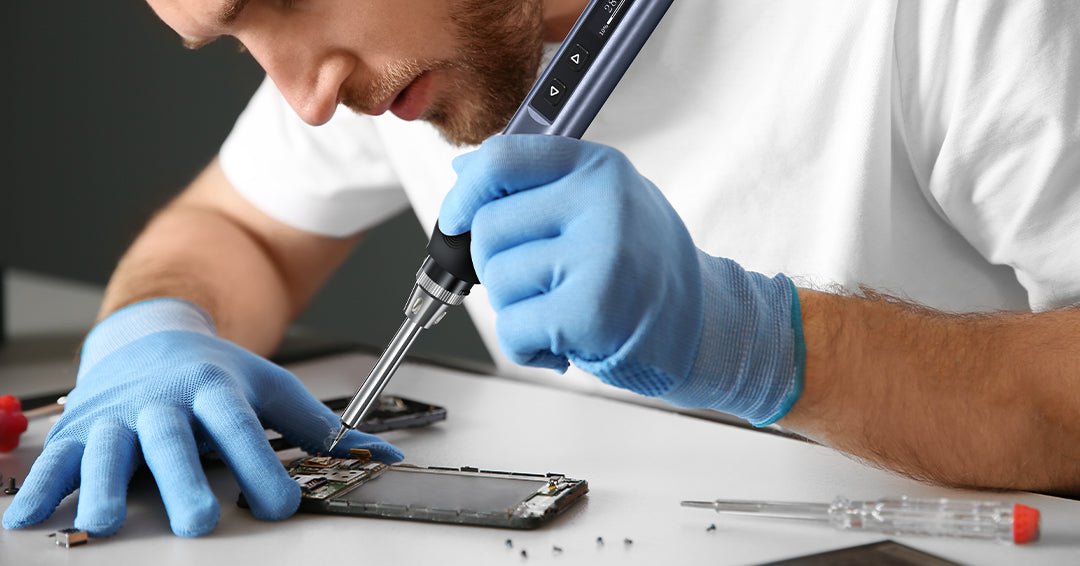
1. Prepare Your Workspace: Ensure you have a well-ventilated area with a stable work surface and appropriate safety gear, including eye protection and heat-resistant gloves.
2. Heat Up the Soldering Iron: Plug in the soldering iron and allow it to reach operating temperature. The ideal temperature for tinning is typically between 350°C to 400°C (660°F to 750°F).
3. Clean the Tip: Use a damp sponge or brass wire tip cleaner to remove any oxidation or residue from the soldering iron tip. Ensure the tip is clean and shiny before proceeding.
4. Apply Solder: Once the tip is clean and heated, touch the solder wire to the tip's surface. Allow a small amount of solder to melt and coat the entire tip evenly.
5. Wipe Off Excess Solder: After tinning, gently wipe the soldering iron tip on a damp sponge or brass wire cleaner to remove any excess solder and create a smooth, shiny finish.
6. Repeat as Needed: Depending on the frequency of use and the condition of the tip, you may need to tin your soldering iron regularly to maintain optimal performance.
Tips for Success:
- Use high-quality solder and avoid excessive flux to minimize residue buildup on the soldering iron tip.
- Avoid overheating the soldering iron, as this can lead to tip degradation and poor soldering results.
- Clean the tip before tinning to ensure proper adhesion of the solder.
- Practice proper soldering techniques to minimize tip erosion and prolong tip life.
Conclusion:
Tinning a soldering iron is a fundamental skill that enhances soldering efficiency, reliability, and tip longevity. By following the step-by-step guide and incorporating the tips outlined in this blog, you can master the art of tinning and achieve consistent, high-quality soldering results in your electronics projects and repairs.
Digital Oscilloscope
Enhance your diagnostics with a digital oscilloscope's accurate, real-time waveform insights.
Example product title
- $19.99 USD
- $19.99 USD
- Unit price
- / per
Example product title
- $19.99 USD
- $19.99 USD
- Unit price
- / per
Example product title
- $19.99 USD
- $19.99 USD
- Unit price
- / per
Example product title
- $19.99 USD
- $19.99 USD
- Unit price
- / per
Example product title
- $19.99 USD
- $19.99 USD
- Unit price
- / per
Example product title
- $19.99 USD
- $19.99 USD
- Unit price
- / per
Example product title
- $19.99 USD
- $19.99 USD
- Unit price
- / per
Example product title
- $19.99 USD
- $19.99 USD
- Unit price
- / per
Example product title
- $19.99 USD
- $19.99 USD
- Unit price
- / per
Example product title
- $19.99 USD
- $19.99 USD
- Unit price
- / per
Example product title
- $19.99 USD
- $19.99 USD
- Unit price
- / per
Example product title
- $19.99 USD
- $19.99 USD
- Unit price
- / per
Example product title
- $19.99 USD
- $19.99 USD
- Unit price
- / per
Example product title
- $19.99 USD
- $19.99 USD
- Unit price
- / per
Example product title
- $19.99 USD
- $19.99 USD
- Unit price
- / per
Example product title
- $19.99 USD
- $19.99 USD
- Unit price
- / per
Example product title
- $19.99 USD
- $19.99 USD
- Unit price
- / per
Example product title
- $19.99 USD
- $19.99 USD
- Unit price
- / per
Example product title
- $19.99 USD
- $19.99 USD
- Unit price
- / per
Example product title
- $19.99 USD
- $19.99 USD
- Unit price
- / per


